|
|
|
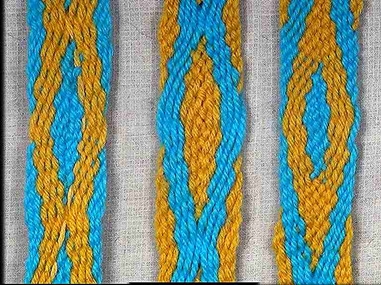
A diamond pattern can be produced by alternating between point up and point down warpface chevron patterns.
The size and apperence of the diamonds depends on the length of the weaving between the chevron reversals and where the chevron reversals take place. The video illustrates some of the variations that can be produced. |
[figure-1]
[click here to see video]
|
| Go to: Top of page | Next figure 2 |
To produce a diamond pattern, a point up chevron pattern must be changed to a point down chevron pattern at the mid point of the diamond pattern.
|
[figure-2] [click here to see video] 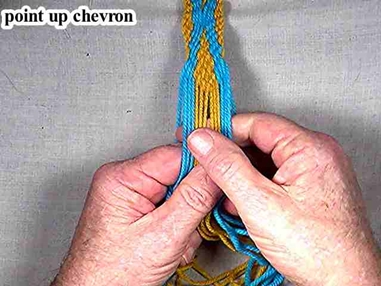
|
| Previous: figure 1 | Next: figure 3 |
When the last two weft strands of the point up chevron part of the diamond pattern meet they are interlocked.
|
[figure-3] [click here to see video] 
|
| Previous: figure 2 | Next: figure 4 |
The interlocked weft strands become the first pair of weft strands of the point down chevron part of the the diamond pattern.
|
[figure-4] [click here to see video] 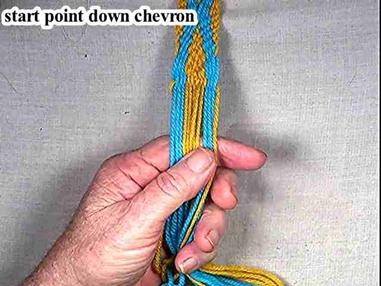
|
| Previous: figure 3 | Next: figure 5 |
| Complete the diamond pattern by following the procedure for weaving the point down chevron pattern. |
[figure-5] [click here to see video] 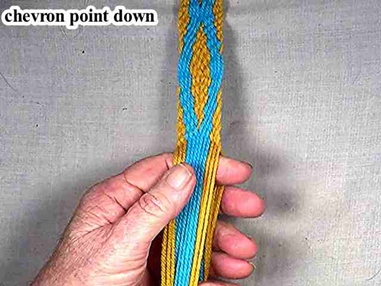
|
| Previous: figure 4 | Next: figure 6 |
Transtion to the next diamond pattern by crossing the two center warp strands.
|
[figure-6] [click here to see video] 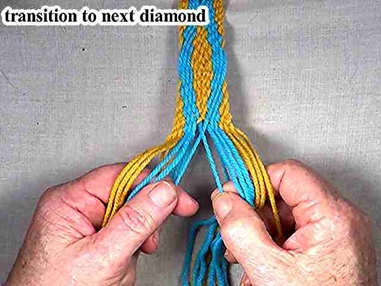
|
| Previous: figure 5 | Next: figure 7 |
Start the point up cheveron pattern portion of the diamomd pattern.
|
[figure-7] [click here to see video] 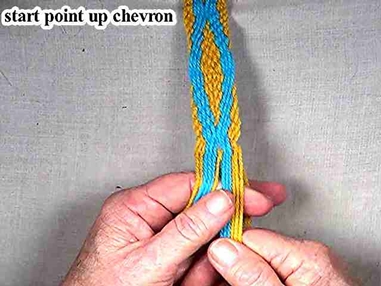
|
| Previous: figure 6 | Next: figure 8 |
Continue weaving the point up chevron portion of the diamond.
|
[figure-8] [click here to see video] 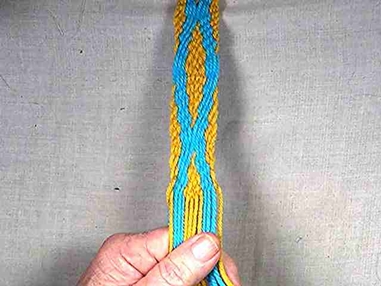
|
| Previous: figure 7 | Next: Top of page |