|
Shed Configuration
Because of the direction of the weave and the position of the first strand there are four basic configurations of the shed. They are:
|
|
|
|
|
|
|
| When planning a diagonally interlaced project, the configuration of the strands on the headstick establishes the foundation for the weaving. Several decisions must be made before the headstick can be configured. First, the number of strands. Next, the direction the weave will be worked. Finally the configuration of the shed. |
| Next |
|
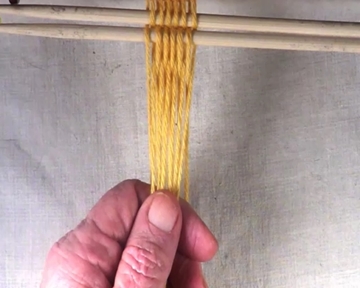
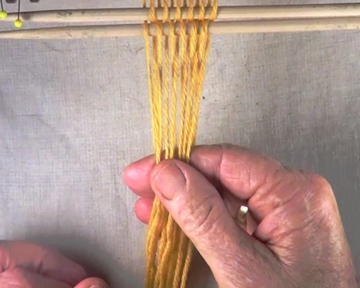
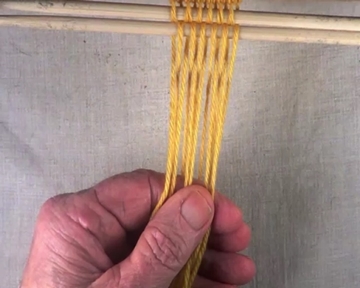
Number of Strands
The number of strands determines the width of the workpiece. When a strand reaches the edge of the workpiece it is turned back into the workpiece on the opposite diagonal and and shed layer. If the strand is in the bottom shed layer it will turn up when it reaches the edge of the workpiece. If the strand is in the top shed layer the strand will turn down when it reaches the edge of the workpiece. When a project requires the edges of two elements to be joined, the direction that the strands turn when they reach edge of the workpiece must be planned. If there is an even number of strands, the strands will turn in opposite directions when they reach the edges of the work piece. If there is an odd number of strands, the strands will turn in the same direction when they reach the edges of the work piece. [NOTE] For these tutorials only even numbered strands will be used. |
| Top of page | Next |
|
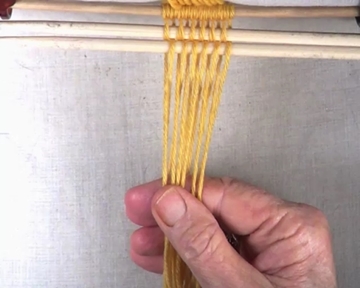
Direction of Weave
The diagonally interlaced weave can be worked from the right hand side to the left hand side of the workpiece or in the opposite direction, from the left to the right hand edge. If the workpiece has only one element, diagonally interlaced weaving can be worked in either direction. But if the workpiece contains more than one element it may be necessary to work different parts of the project in different direction. There are two main configurations for an even number of strands. One configuration starts with the first strand in the top shed layer and the last strand in the bottom layer. The second configuration starts with the first strand in the bottom shed layer and the last strand in the top shed layer. |
| Top of page | Next |
|
Shed Configuration
Because of the direction of the weave and the position of the first strand there are four basic configurations of the shed. They are:
|